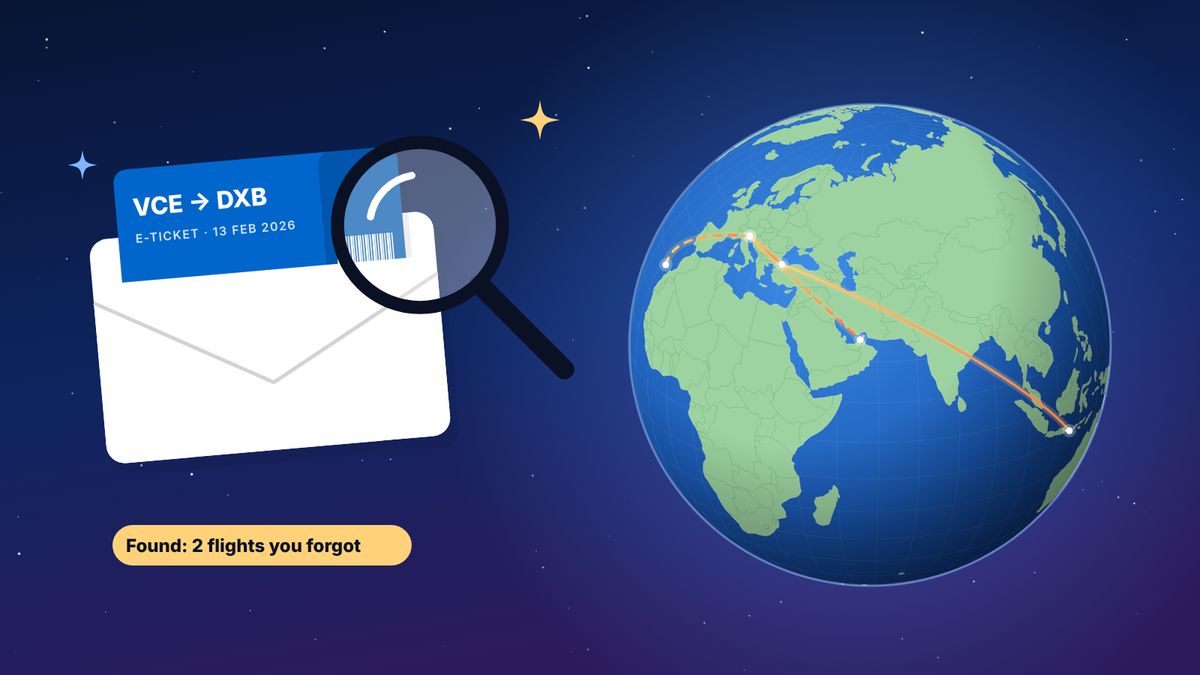
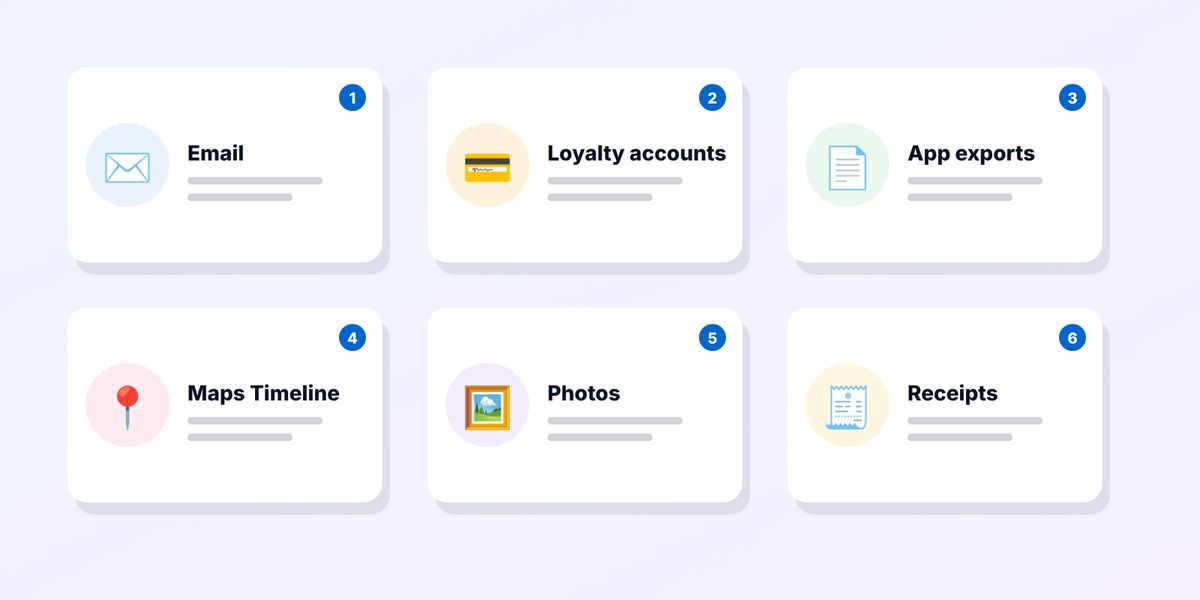
To find your old flights, start with your email: search every inbox for “boarding pass”, “e-ticket”, “itinerary” and “booking confirmation”, year by year. Then download the activity statement from each airline loyalty programme you belong to, and export your history from any flight app you used. Fill the gaps with your photos, your calendar and Google Maps Timeline if you had it turned on. A flight number and a date are enough to log each one; the airports, distance and time can be filled in for you.
Most people have flown far more than they remember. The flights are all recorded somewhere, just not in one place: a confirmation email from 2014, a loyalty account you haven’t opened in years, a photo of a plane wing. This guide takes you through every source, in the order that finds the most flights for the least effort.
Before you start: what you need for each flight
You don’t need much. For each flight, any one of these is enough to log it:
- A flight number and a date, such as TK1844 on 3 October 2026. The airports and times can be looked up from these.
- Two airports and a date, such as Venice to Istanbul on 3 October 2026, if you don’t know the flight number.
- A boarding pass, on paper, as a PDF or as a screenshot; the barcode holds the flight details.
Keep a simple list as you go, or add each flight to your log straight away. On flew.world, adding a flight by number and date takes a few seconds.
Step 1: search your email properly
Email is the richest source for anything booked in the last 15 to 20 years. Search every account you have used, including old personal addresses and work email.
Search terms that work:
- “boarding pass”
- “e-ticket” and “eticket”
- “itinerary” and “itinerary receipt”
- “booking confirmation” and “booking reference”
- “check-in” and “online check-in”
- the names of airlines and booking sites you have used
Search one year at a time. Most email apps let you add a date range or a year to a search. Twenty results for 2018 are easier to work through than 900 for everything.
Look for these, in order of usefulness:
- Boarding passes: proof you actually flew, with the flight number and date.
- E-ticket receipts: every flight on the ticket, including connections.
- Booking confirmations: the plan, which may have changed. Check against boarding passes where you can.
- Delay and gate-change notifications: a good sign the flight happened.
Watch out for flights you booked but didn’t take: cancellations, rebookings and refunds. If there is a cancellation or refund email for a booking, leave it out or check it against your memory and photos.
Step 2: download airline and loyalty statements
Frequent flyer programmes keep a record of every flight that earned points or status, often going back many years.
- List every programme you have ever joined, even ones you used once. Search your email for “welcome to” and “membership number” to find forgotten ones.
- Log in and find the activity or statement page. It may be called “activity”, “statement”, “transactions” or “flight history”.
- Download or screenshot it if you can. Some programmes let you export, others only show a limited period, so save what you see.
- Remember partner flights. A flight on a partner airline may appear in the programme you credited it to, not the airline you flew.
Step 3: export from flight apps you used
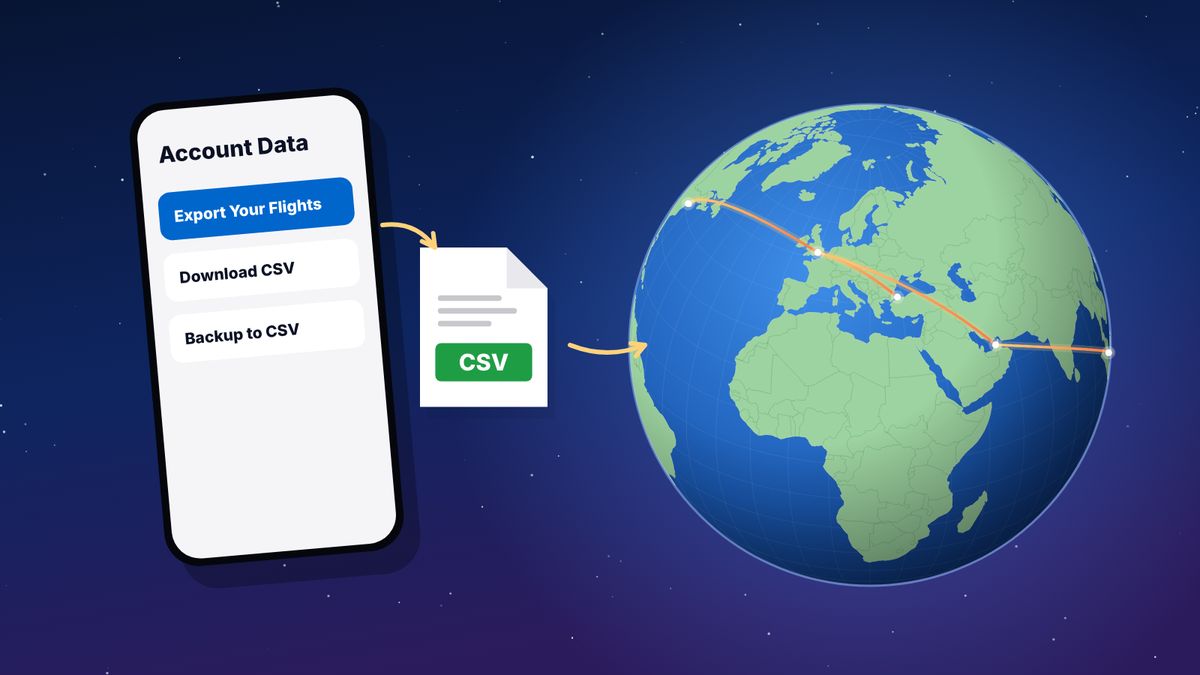
If you ever used a flight-tracking or flight-log app, it may still hold years of history. Most can export a CSV file: Flighty, myFlightradar24 and OpenFlights all can, and TripIt can give you a calendar feed. If you saved your App in the Air export before it closed in 2024, that file still works. Step-by-step instructions for each are in our guide to exporting your flight history.
Step 4: check Google Maps Timeline and your photos
Google Maps Timeline recorded places you visited if you had Location History turned on. Timeline now lives in the Google Maps app on your phone rather than on the web, so open the app, go to your profile and choose Your Timeline. If you turned it on years ago and kept your data when Google moved it to your device, you can scroll back through trips, including flights, day by day.
Your photos are often the best memory aid of all:
- Scroll your camera roll month by month and look for airports, plane windows and the first photo in each new place.
- Use your photo app’s map view, if it has one, to see where photos were taken.
- Search your photos for “airport” or “plane”; many phone photo apps can find them by what is in the picture.
Step 5: calendars, receipts and paperwork
- Calendars: booking apps, travel agents and company travel tools often added flights automatically.
- Bank and card statements: airline charges, baggage fees and airport purchases show where you were.
- Expense reports: the most complete record of work trips, if your company keeps them.
- Passport stamps and old boarding passes: for the years before email.
- Ask people you travelled with: family and friends may have the confirmation you lost.
Step 6: log everything in one place
As you find flights, put them somewhere you can see the whole picture. You could use a spreadsheet with a date, a from and a to for each flight. Or use a flight log app that does the work for you.
On flew.world:
- Import what you have as files: CSV exports from other apps go in all at once at flew.world/import. You see every row before anything is saved.
- Add the rest by flight number and date, or by scanning a boarding pass.
- Use the approximate date if you can’t remember the exact one; the distance doesn’t depend on the date.
- Check your trips. Flights are grouped into trips automatically; correct any connection that was really a stay.
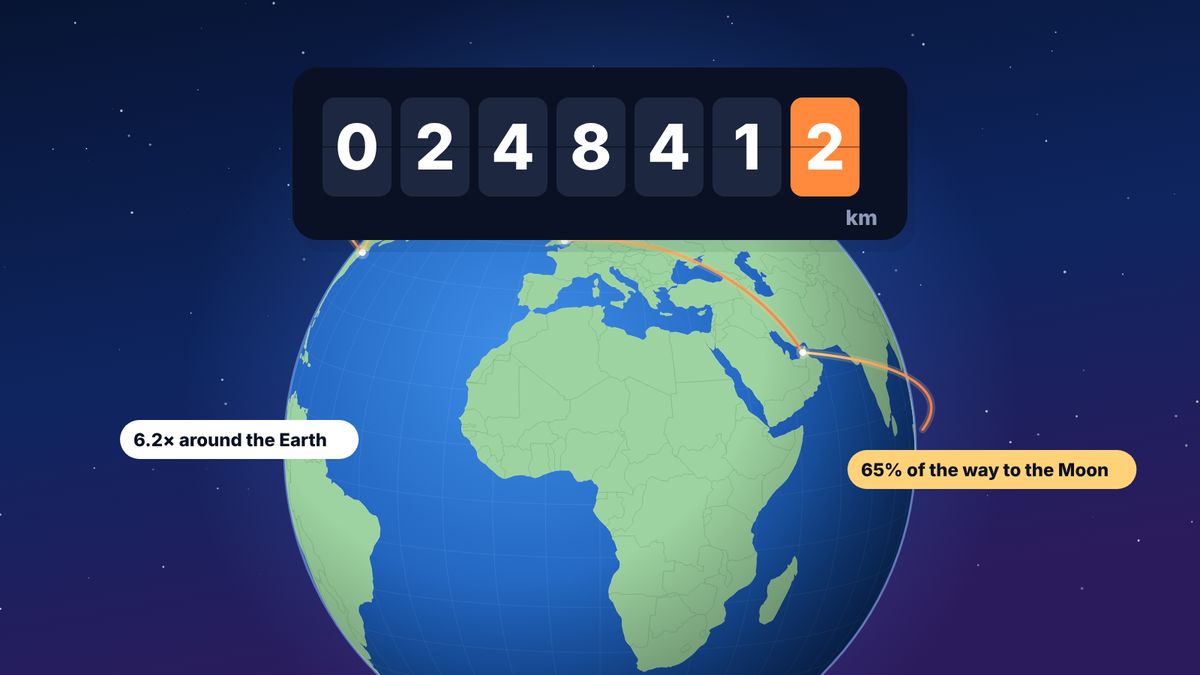
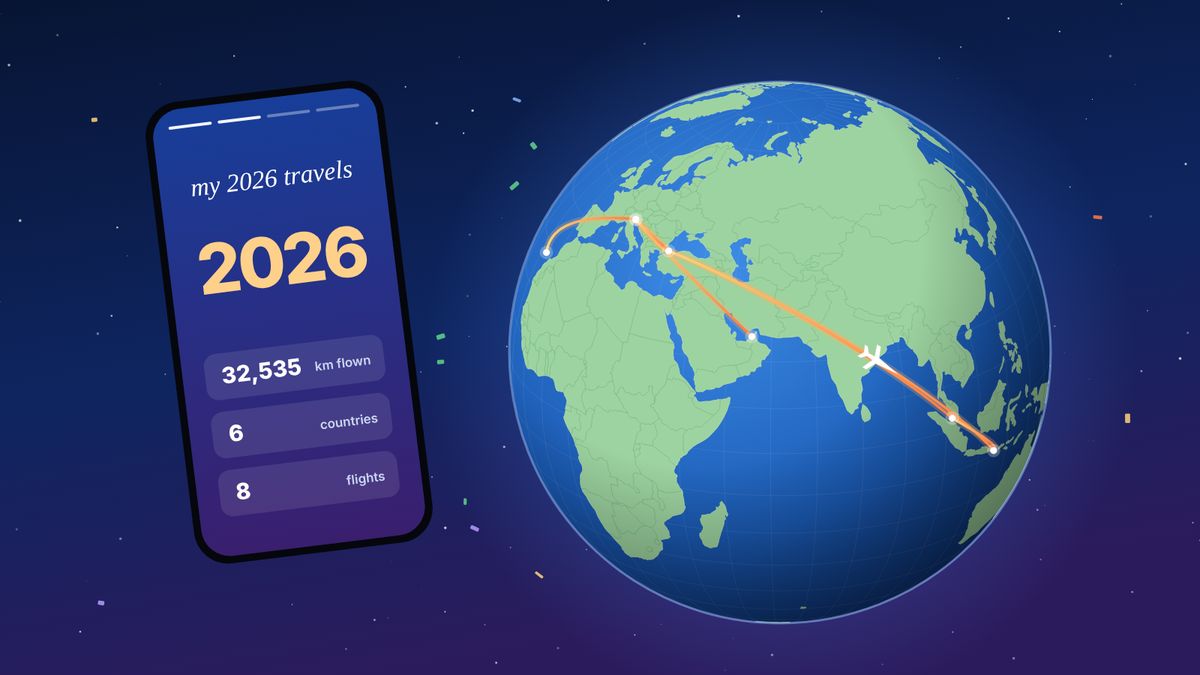
Then look at your totals: kilometres or miles, hours in the air, countries and airports, and a page for every year. See how many kilometres have I flown for what the numbers mean.
How far back should you go?
As far as you enjoy it. A good approach:
- Start with this year and last year. They are the easiest to find and make your year in review complete.
- Then do the big trips you remember: honeymoons, gap years, first long-haul flights.
- Fill in the rest over time. Every time an old trip comes up in conversation or in your photos, add it.
A log with most of your flights is far more interesting than no log. Perfection is optional.
Questions
How can I see all the flights I have taken?
Collect them from your email, airline loyalty statements, old flight apps and photos, then put them in one flight log. flew.world shows them all on one map with your totals.
Can I get my flight history from an airline?
Usually from its loyalty programme: log in and look for activity, statement or flight history. It only covers flights credited to that programme.
Does Google keep a record of my flights?
Only if you had Location History turned on. Timeline now lives in the Google Maps app on your phone; open it from your profile to scroll back through past days.
What if I don’t know the flight number?
Log the two airports and the date instead. The distance and an estimated flight time can be worked out from the airports.
How do I add flights from many years ago?
Add them like any other flight, with the airports and the best date you know. flew.world gives every year you log its own page.
Sources
- Update Google Maps to use Timeline on your device Google Maps Help
- Importing flights into AirTrail export steps for common flight apps
Updated 2 November 2026. Spotted something out of date? Tell us at hello@flew.world.